TagRanger®
Quick Start
Once you receive your TagRanger® devices, you can follow the instructions below to get up and running quickly.
Charge your devices:
Plug your devices in to a computer or wall charger USB socket using the cable supplied. A red LED will come on to show the device is charging. Once the battery is fully charged the LED will turn green.
Power On/Off:

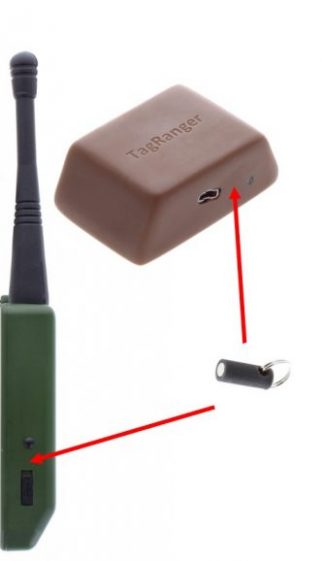
- Both the Tag and the Finder can be powered on by placing the magnet between the USB charge port and the LED.
- The LED will turn White for a few seconds before turning Green. Remove the magnet when the LED is Green, don’t leave the magnet in place longer than necessary to see the LED colour change
- If the device is already powered on the LED will turn green immediately
- When the magnet is removed the LED will start flashing Blue
- The Finder LED will continue to flash Blue indefinitely
- The Tag LED will flash Blue for 1 minute before turning off (You can change this in the settings by changing BLE Always On which can be useful for extensive setup)
- While the LED is flashing Blue it is possible to connect to either the Finder or the Tag from the TagRanger® App on your Smartphone
- Both the Finder and Tag can be powered off using the magnet held in place for about 6 seconds - when the LED starts rapidly flashing White, remove the magnet and the device will power off
Follow the online guides:
1. Get an overview of the system:
2. Check out the full Feature Set
3. Learn how to set up your devices, including the Profiles feature for fast deployments.
4. Familiarise yourself with the Mapping capabilities
5. Learn how to use the TagRanger® features
6. A comprehensive list of LED meanings can be found on the LEDs page

